

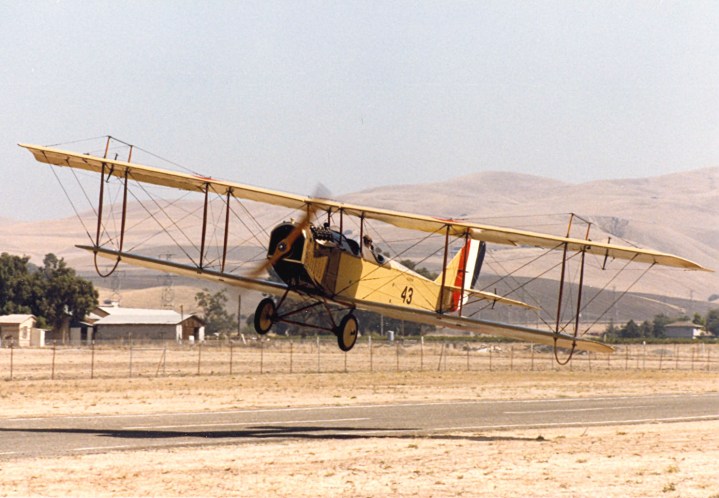
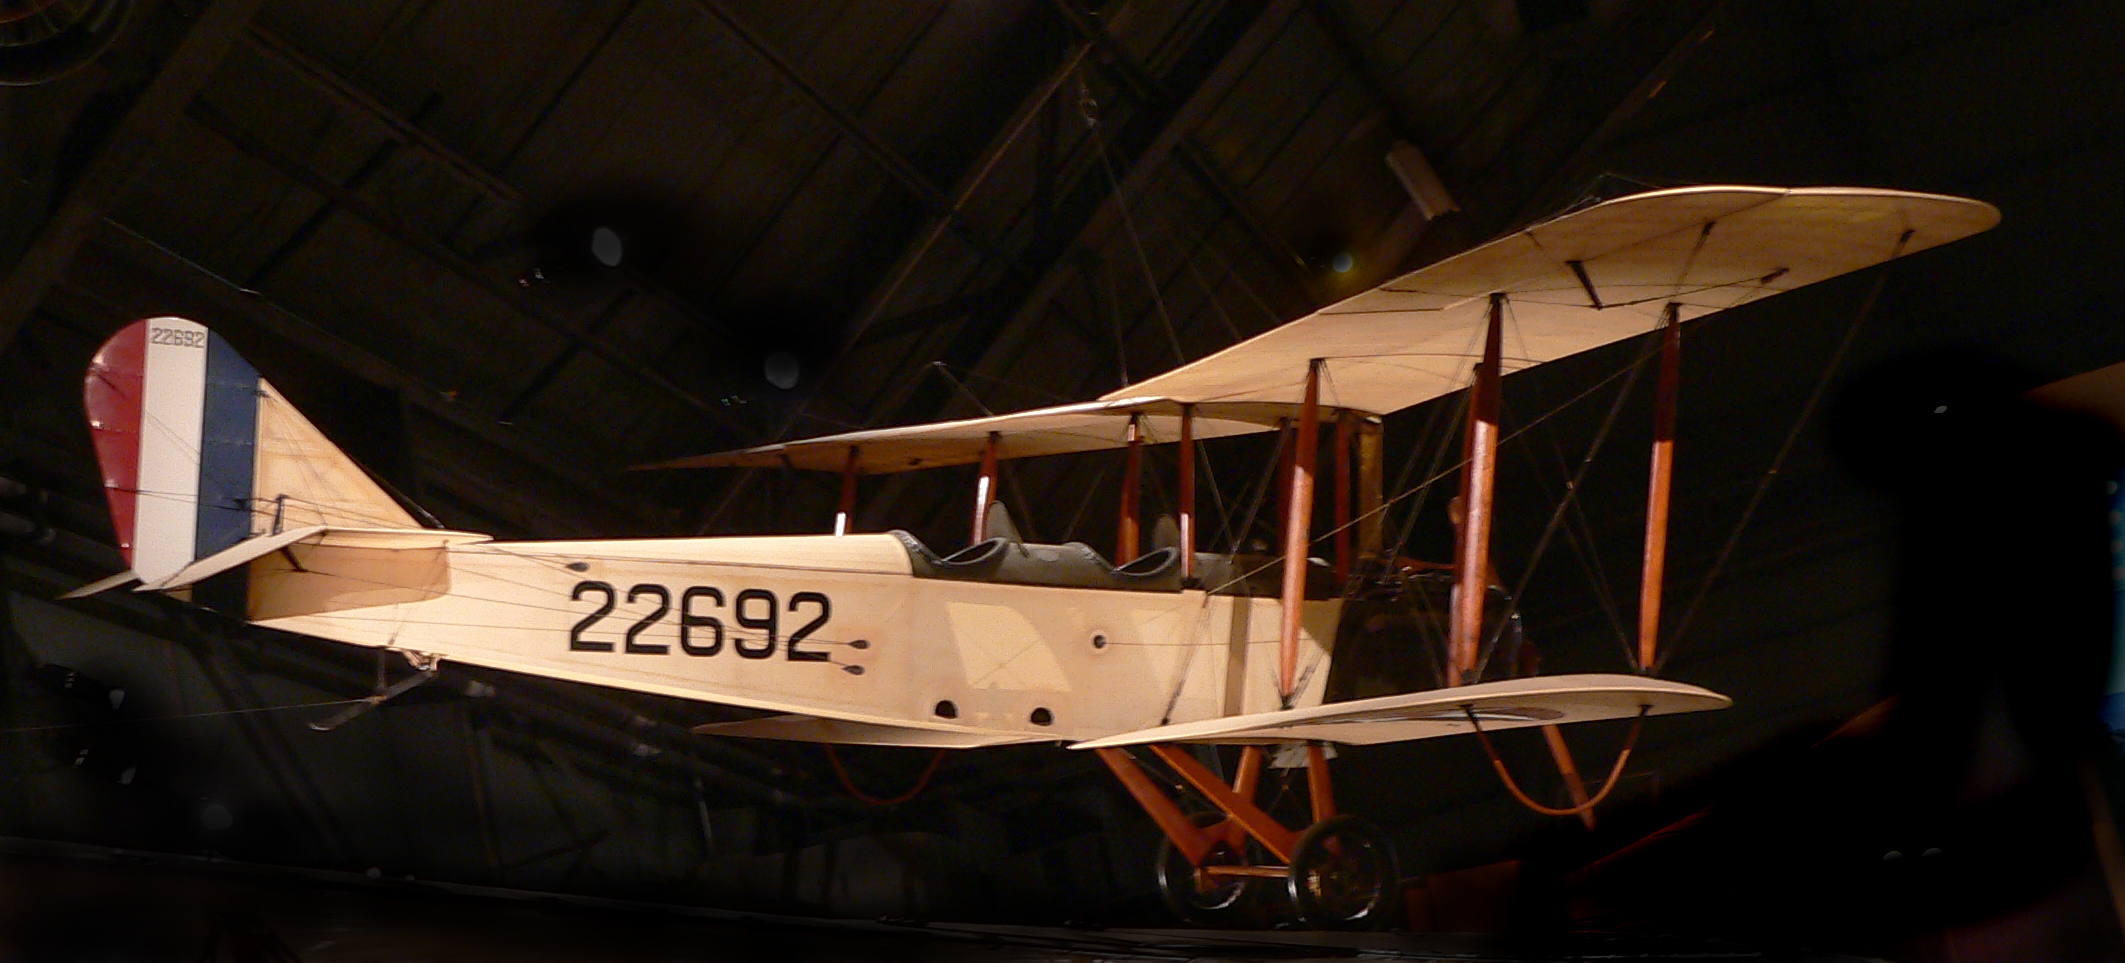
The Curtiss Jenny hardly needs an introduction. Designed for Glenn Curtiss by Benjamin Thomas, who had worked at Sopwith Aviation, the original JN1 was a heavy, underwhelming performer. The subsequent JN2 and JN3 improvements weren’t much better.
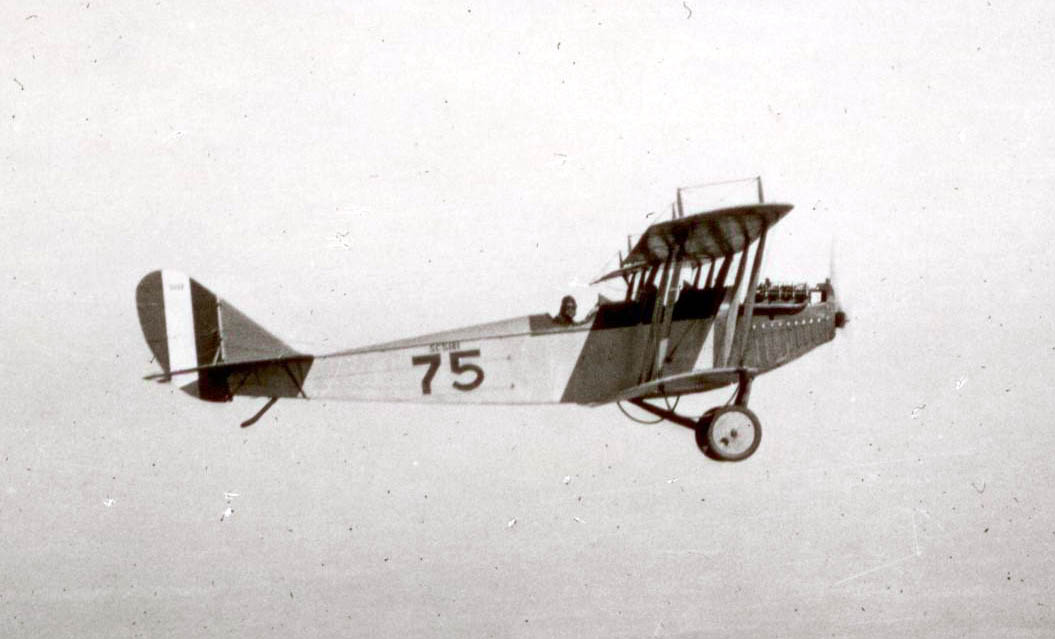
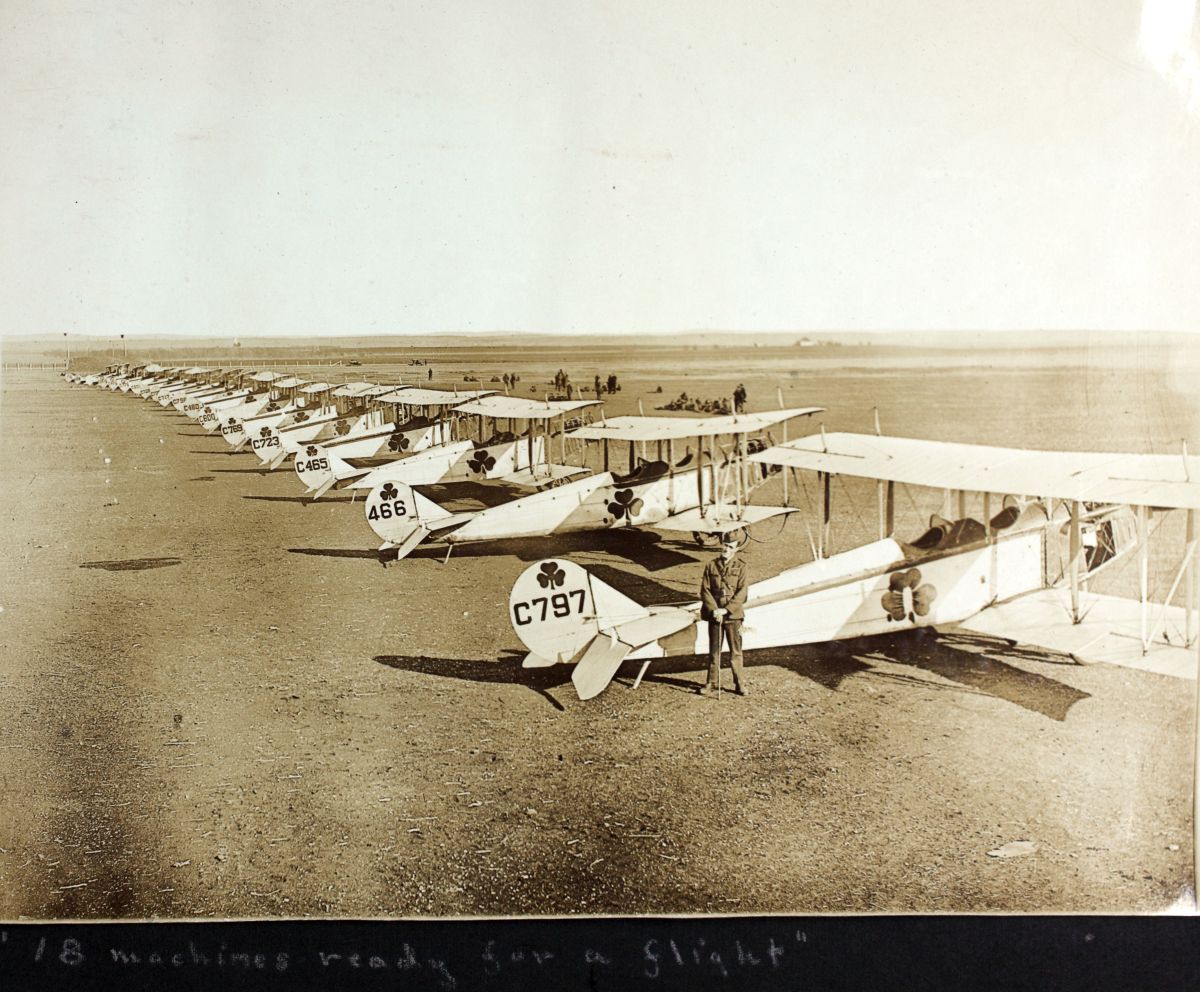
However, Curtiss hit gold with the JN4. Mild-mannered, manoeuvrable and robust, the definitive JN-4D variant made up the bulk of a 6,813 airframe production run. An estimated 95% of all American pilot trainees flew a ‘Jenny’ during WW1 – Jimmy Doolittle bent several JN2s and JN4s during his army career – and uncounted folks were introduced to aviation by surplus JN-4 barnstormers throughout the 1920s.
Wings for a week’s wages?
Surplus Jennys were all but given away when hostilities ended – flooding the market for as little as $50, although $200 to $500 was more typical. That’s an airplane for $857 or, more typically, $3,428 to $8,570, in today’s money.
Talk about knocked-down prices! Uncle Sam had already paid the Curtiss Company $5,465 ($93,668 in 2015 dollars) per airplane – and more than a few were resold in their unopened packing cases.

Buy it and fly it
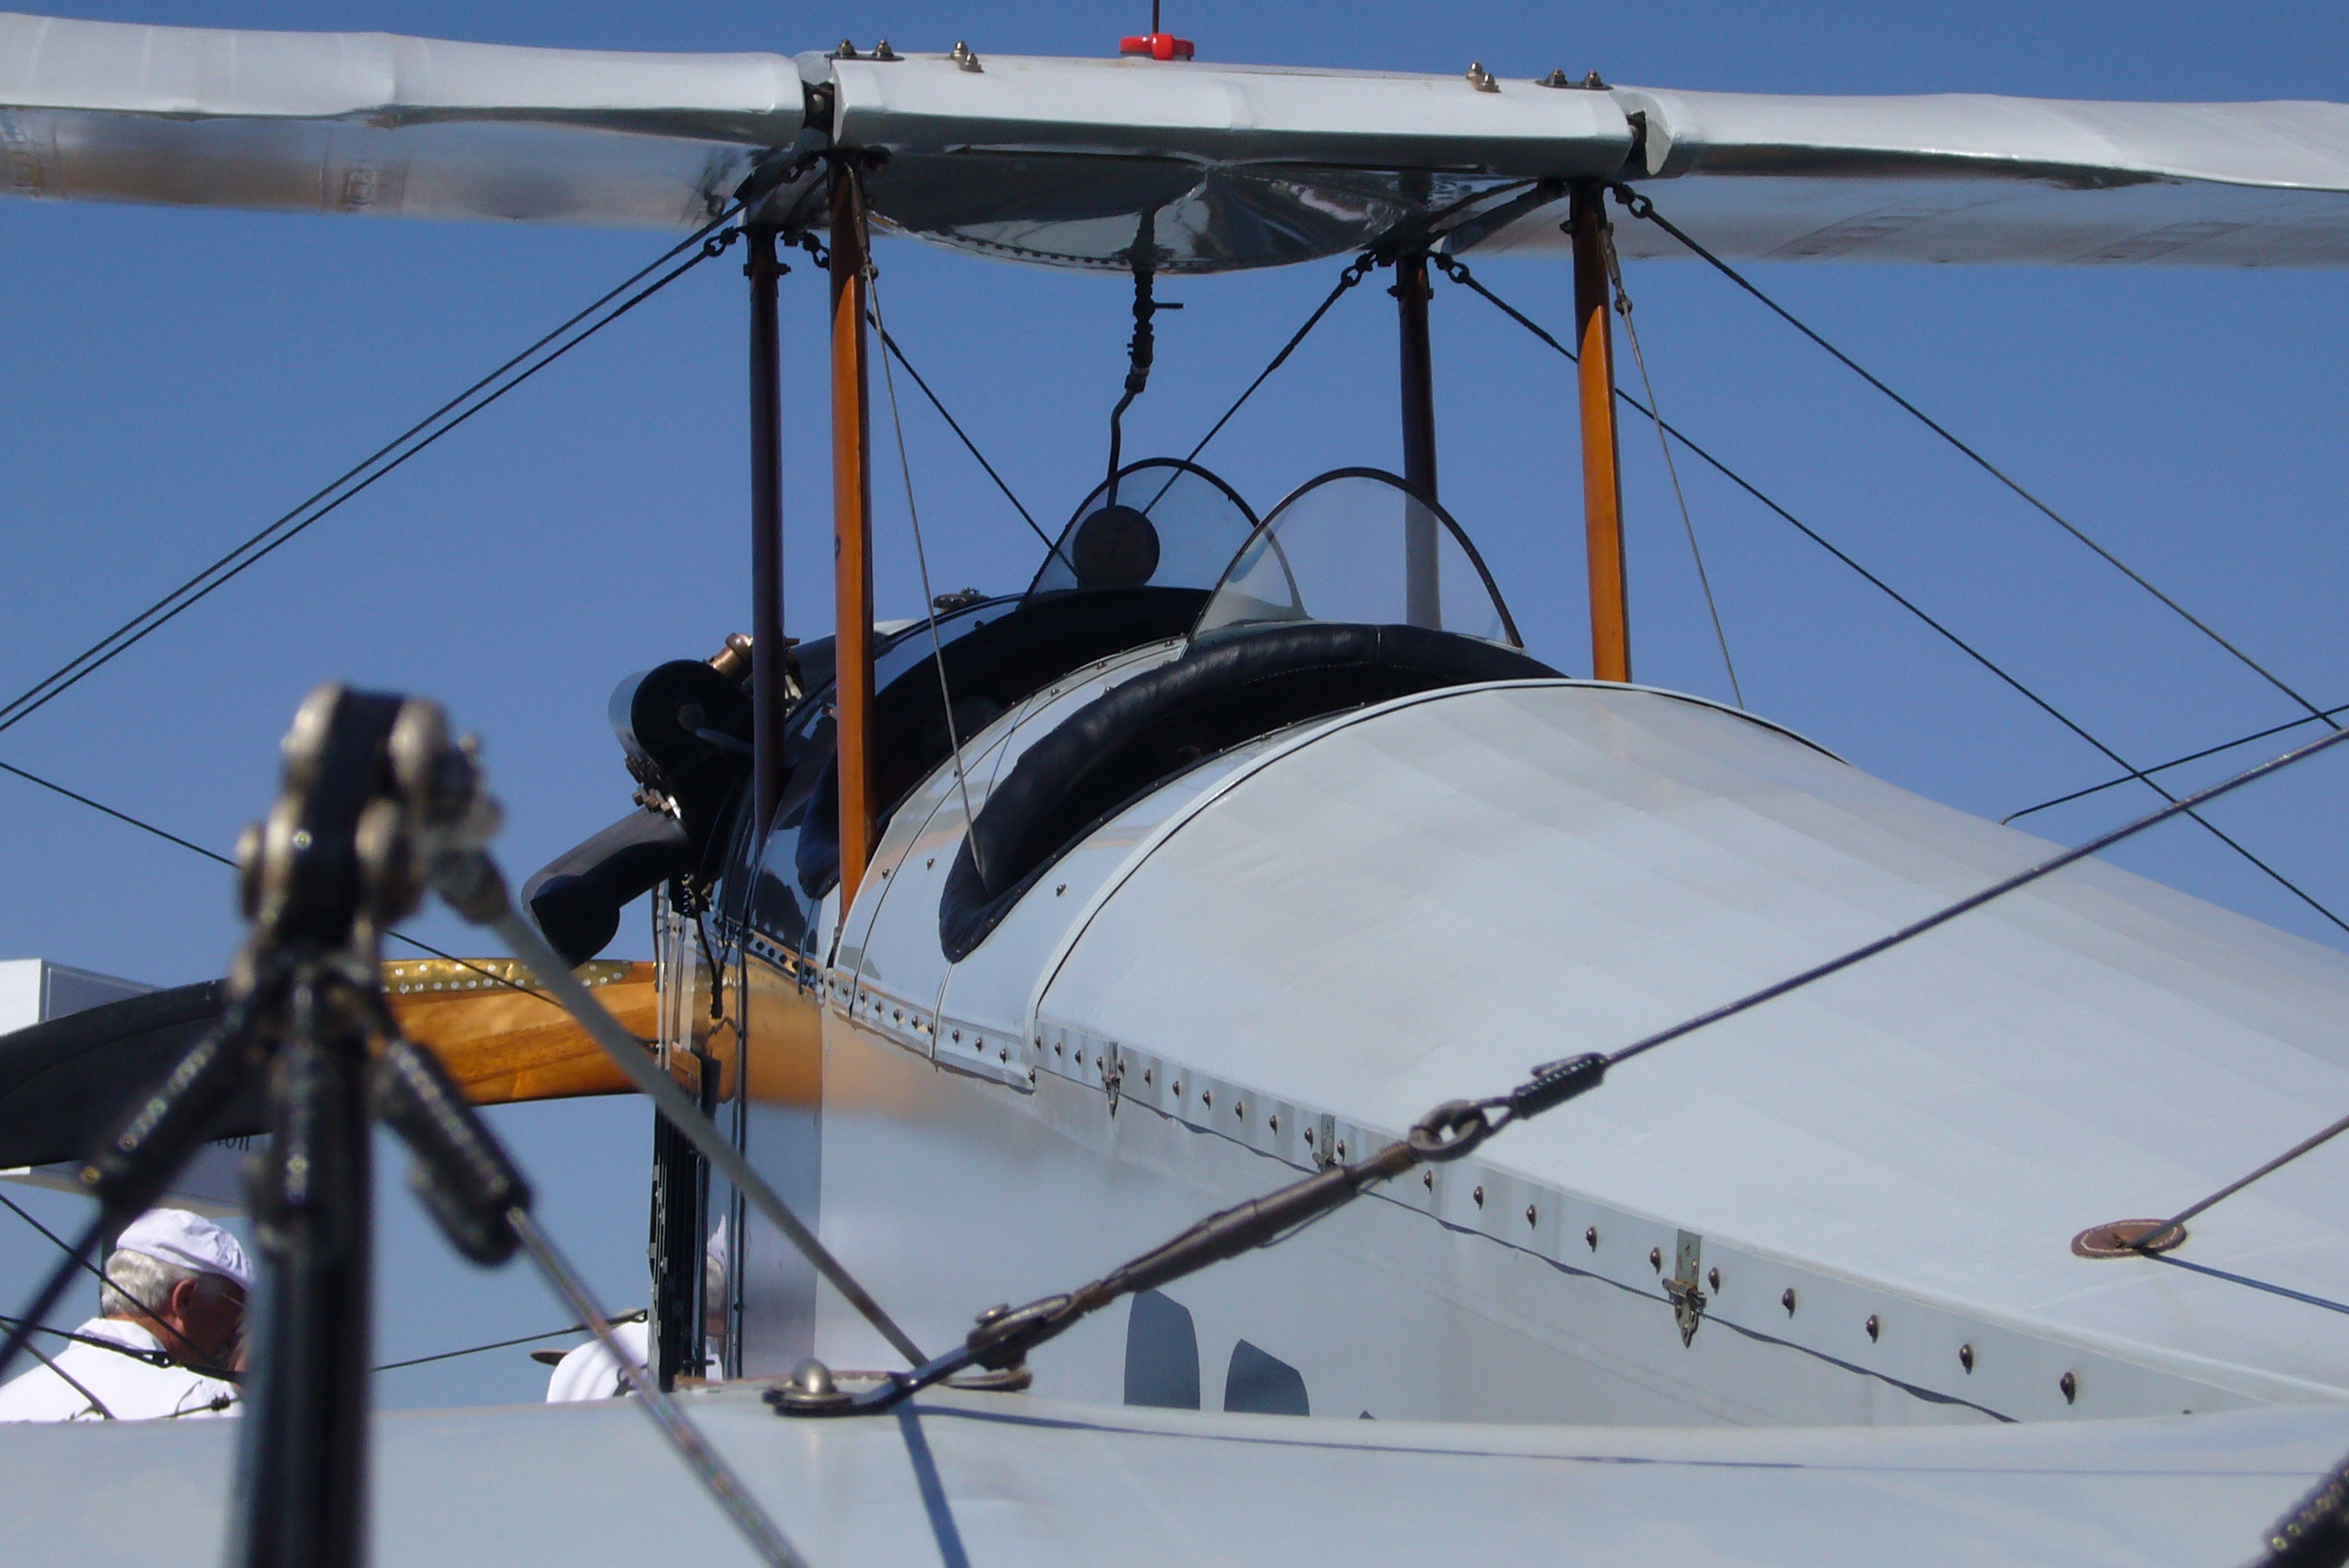
Charles Lindbergh famously first-soloed himself in a JN4-D that he’d just bought for $500. (In fact, he’d had a course of flying lessons over a year before.)
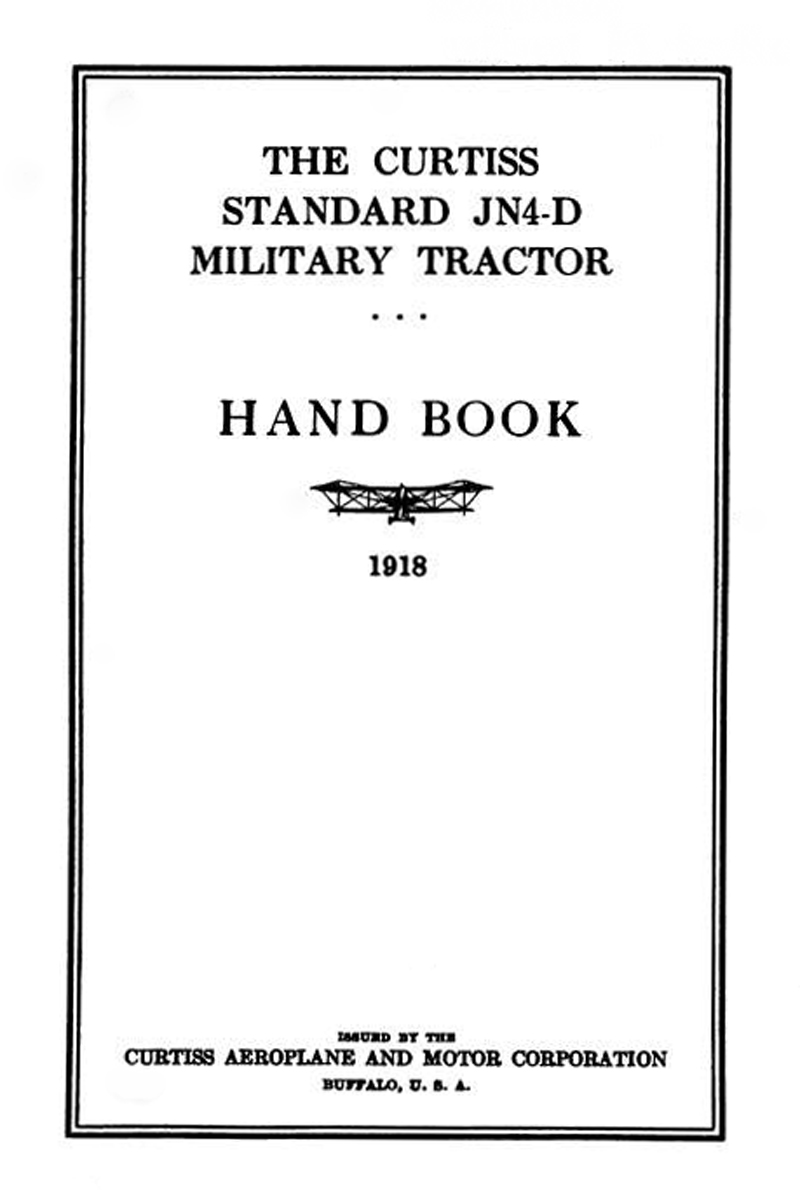
But then it was a much simpler time for aviation. And, to be fair to ‘Slim’ Lindbergh, the JN4 does appear to be squarely aimed at autodidacts. Along with the more usual notes on specifications and performance, the original JN4-D Manual includes instructions for assembling the aircraft and extensive ‘hints’ on how to actually fly it!
I’d still recommend investing in professional flying instruction but, for your entertainment and enlightenment, here those hints are – straight from The Curtiss Standard JN4-D Military Tractor Hand Book of 1918:
Important hints
1. Remember that “A stitch in time saves nine.”
2. Always inspect the motor thoroughly before starting.
3. Always have plenty of oil, water and gasoline before trying to start; all three are vital.
4. See that the radiator is full of water before starting.
5. Keep oil and gasoline clean, and free from water.
6. Oil all exposed working parts daily.
“the propeller is the business end of the motor; treat it with profound respect”
7. Be sure to retard magneto before starting; otherwise a serious accident may result.
8. Turn on switch before trying to start.
9. Start the motor with the throttle only part way open.
10. Run the motor idle for only short periods; it is wasteful and harmful to run idle too long.
11. Watch the lubrication constantly, it is most essential.
12. Remember that the propeller is the business end of the motor; treat it with profound respect when it is in motion.
13. When the motor is hot allow it to idle a few minutes at low speed before turning off the switch. This ensures the forced circulation of the cooling water until the cylinder walls have cooled considerably and also allows the valves to cool, preventing possible warping.
14. Avoid that destructive disease known as ‘tinkeritis’; when the motor is working satisfactorily, leave it alone.
15. Be sure to inspect daily all bolts and nuts. Keep them well tightened.
16. Stop the motor instantly upon detecting a knock, a grind, or other noise foreign to perfect operation. It may mean the difference between saving or ruining the motor.
17. Study this instruction book at least once a week.
Hints for flying right-hand tractors
1. Look over machine in general way.
2. Be sure of gasoline, oil and water.
3. Test motor for revolutions.
4. Be sure controls are working properly.
5. Start off full power directly into wind.
6. Watch your direction carefully and counteract with right rudder the machine’s tendency to turn to the left, due to the propeller’s air blast striking the left side of fin more forcibly than the right side.
7. After attaining a few feet headway, raise the tail with controls and keep it in this position to prevent machine from leaving the ground until it is well past its minimum flying speed, at the same time watching your direction carefully. If your course permits keep your machine on the ground until its maximum ground speed is reached. Then, very easily and smoothly, take it off the ground.
By following the above plan a large degree of safety is assured, for if engine trouble develops soon after, you have surpassed the machine’s minimum flying speed and you have a good chance to pick a landing spot that would not be possible if the take-off were made at slow speed.
8. The most dangerous place for engine failure is just after leaving the ground.
9. When once under way it is advisable to attain a safe altitude as soon as possible, and it will be found that the best results can be attained by a high speed, low-angle climb rather than a slow speed, large angle. A steady, fast climb is the best for all purposes.
10. After a height of not less than 800 feet, a turn can be contemplated. It is advisable to reach a higher altitude if possible, but do not attempt one lower unless necessity demands to miss obstructions or to play safe on a certain forced landing spot in case of engine trouble.
At no time let your machine attain a high angle of climb, for in so doing you are encouraging it to stall
11. Never forget that the engine may stop, and at all times keep this in mind and plan on a safe landing place within gliding distance of wherever you may be.
If you are still on the climb and wish to make a rather short turn, nose the machine over until you are flying level so as to keep the speed high. At the same time bring to play the rudder and ailerons in the correct proportions and in the proper directions to give a smooth, even turn. A large, easy turn with little bank is more to be encouraged than short, sharp ones using a steep bank, for if banking is not properly done either skidding or side-slipping develops, both of which, if carried too far, are very dangerous.
At no time let your machine attain a high angle of climb, for in so doing you are encouraging it to stall which would necessitate considerable altitude to recover from safely. At all times remember that although you are controlling the actions of the machine it has a considerable amount of stability itself, and be a little free with the controls rather than stiff and rigid.

12. Do not at any time jerk the controls, but be firm and steady and above all smooth in their operations. This forms a quiet and confident mind which is invaluable in flying, also it reduces the strains on the machine to the minimum.
Now that a safe altitude has been reached your anxiety diminishes, for with height there is safety; but remember to keep within gliding distance of a landing place.
13. Directions of wind here enter on the gliding possibilities of your machine, for although at all times you go the same rate of speed through the air your relations with the ground change with the wind, so if you have to glide into a wind you cannot glide as far over the ground from a given height as you can if the same wind were behind you. You will also notice by flying in a side wind that in order to keep a straight course over the ground the machine must be swung around into the wind on an angle depending on the velocity of the wind. This is to offset the drift of the machine.
14. Drift must also be counted on in making turns, for by side drifting the horizon appears to be moving in the opposite direction, which is very apt to mislead one as to his actual turning from the result of the rudder.
Landing
15. When within the correct distance for a glide of medium velocity to your contemplated landing place, shut off the engine and nose the machine over to the proper gliding angle and head for the field in a direction to bring you directly into the wind.
If you find you are too close to the field and your machine is developing excessive speed, start ”S-ing” to reduce your speed as well as altitude. If you have considerable altitude to spare an easy spiral may be executed, but neither of these should be tried unless you are perfectly confident of their success. The best way is a long, straight glide into the field, and it gives one a fine chance to judge distance and wind.
Only practice will perfect landings – for it’s simply a combination of good judgment of distances and speeds.
16. Never glide too flat for your speed falls off and you settle instead of gliding down. In so doing your controls become inactive to a large degree, and this must be avoided in all cases. A strong blast must be on all controls in the correct direction at all times to have the machine sensitive to their movements.
When you have glided toward the field and are still about fifty feet from the ground you should start levelling off, but gradually allow the machine to glide down within about six feet of the ground where the final levelling off begins.
At this point the machine is skimming along, neither rising nor falling, until its velocity wanes, then as it sinks you increase the wings’ angle to the air so as to bring the lift again up to the weight of the machine for its loss in speed. As the speed lessens the angle should increase more rapidly until the machine is flying in the correct position for landing at its minimum flying speed. At this point the machine should be just grazing the ground with its wheels and tail skid.
Only practice will perfect landings – for it’s simply a combination of good judgment of distances and speeds.

17. In making turns you will notice the marked tendency of the machine to nose down on a right-hand turn and to climb on a left one, the latter not being so noticeable as the former. These peculiar actions of the machine are caused by the gyroscopic force of the revolving propeller and must be compensated by the elevators to keep the machine level.
In banks of over 20 degrees the rudder and elevators begin to exchange their proper actions with one another until the vertical is reached, when the change is complete. This must be clearly understood, for to expect the elevators to control the horizontal balance of the machine when on a steep bank and the rudder to control the direction of same might end disastrously.
There are several ways of getting started on a spin, but excessive banking with considerable rudder on seems to be the foremost way of all.
18. The most common danger at present to new students is the spinning nose dive or tail spin. Although it is not dangerous to the man who knows how to get out of one, it is very wise for the beginner to stay well away from the possibilities of having the chance to see if he can get out of one.
There are several ways of getting started on a spin, but excessive banking with considerable rudder on seems to be the foremost way of all. In turning, if the nose falls due to stalling or some other cause, a spin may develop. In a spin the ailerons and elevators are useless, for the air blast strikes them from the side instead of straight on. The only available control is the rudder, and this is your best friend.
All the possible rudder should be put on in the opposite direction than you are spinning even if you have to put both feet on one side of the rudder bar. Remember to hold that rudder and keep the motor going full to supply all the possible air blast. This is the only remedy and if you have enough altitude you have nothing to worry about. The centrifugal force of the revolving machine must first be stopped and this takes place somewhat slowly, but as soon as you feel the rudder acting you will feel your elevators and ailerons regaining their control, whereby you can complete the work started by the rudder and regain your proper balance.

Makes it all sound so easy!
Yep, next stop Paris. (Lindbergh)
I do all that in my sleep regularly. It always is a disappointment when the alarm clock goes off though….
Reblogged this on Owl Works – The Scribblings of M.T. Bass.